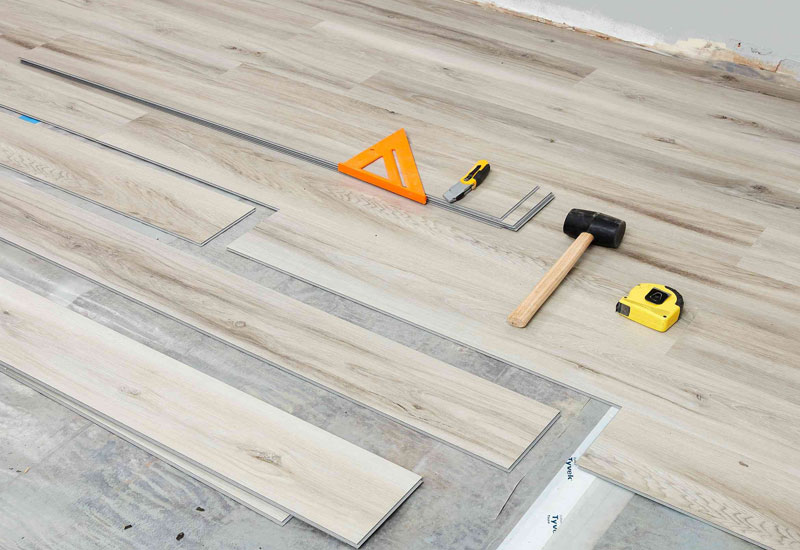
Preparing for the Installation vinyl plank flooring
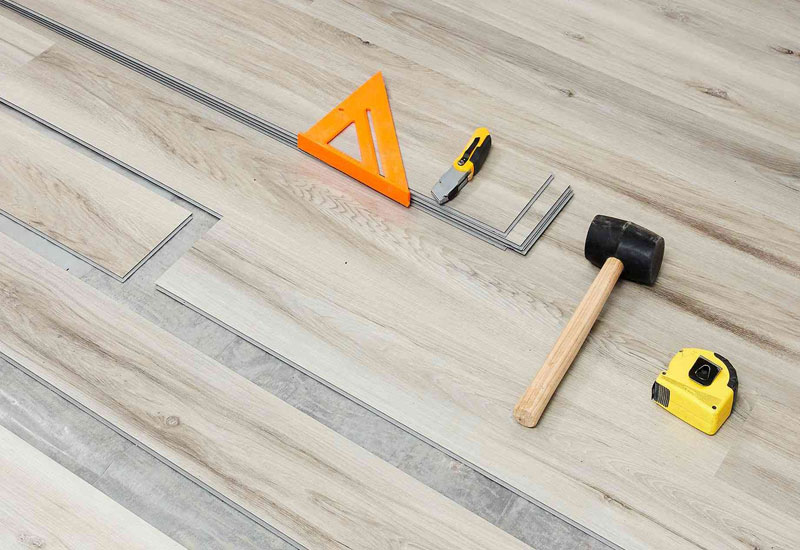
Materials |
Tools |
|---|---|
|
|
Getting started guide
Vinyl plank flooring is a great choice because it’s waterproof, durable and easy to clean. It’s also a good do-it-yourself (DIY) project. You can install vinyl plank flooring over concrete, hardwood, tile or existing vinyl flooring.
As long as the surface is flat and clean, it’ll work. Laminate can be uneven, so it’s not recommended to lay vinyl over it. It’s easy to install and can be used in various locations, including living rooms, bedrooms, bathrooms, kitchens and even recreational vehicles (RVs).
You can also use it on covered porches as long as you don’t live in a place with extremely cold temperatures. Regardless of the surface that you’re laying your vinyl plank flooring over, underlayment is recommended.
It provides extra cushion and sound reduction and also acts as a moisture barrier when you place it over concrete. For a clean look, you’ll also need to purchase coordinating transition strips to use at doorways or when switching flooring types.
Instructions
Start by removing the baseboards. Then cut through any paint sealing the baseboards to the wall using a utility knife. Then use a pry bar to gently loosen the baseboards.
- Prep your subfloor so that it’s clean, dry and level within 3/16-inch change per 10 feet.
- Use a self-leveler on low spots and/or sand high spots of wood or concrete. Don’t sand vinyl flooring as it may contain asbestos.
- Self-leveler is available in powder and pre-mixed form and is used to create a flat, smooth surface in flooring projects.
- The strength of the product is similar to concrete.
- Self-leveler dries fast, so you have to work quickly.
Plans for the floor
Mark the center of each wall and snap lines between them with a chalk line.
Measure from the center to the starting wall using a tape measure, subtracting the 5/16-inch expansion gap, and mark this distance at each end of the wall. Snap a chalk line between these two marks to get a straight line against the wall.
Finally, if it’ll be less than 1/3 of a plank, cut about 1/3 of the plank off the first row to create even starting and finishing rows.
The First Row
Score and cut the tongue off the first row of vinyl planks using a utility knife. Set the first plank in place on the starting line with the cut side toward the wall, maintaining the expansion gap.
- Hold the next plank at a slight angle against the previous plank’s end and fold down to click it into place.
- To cut the last piece to fit, score it with a utility knife and snap the plank.
Selecting a range from second row onward
You begin insert the tongue of the first piece into the groove of the previous row’s first plank and rotate down to click together.
For the next piece, connect the short end first and then the long end. You should feel it lock. Continue the installation, making sure to stagger the joints by 6 inches and maintain the expansion gap.
To get under door jambs, slightly bend the planks into place, and use a pull bar or tapping block to lock the joint if necessary.
Vinyl Plank Flooring: Peel and Stick
The floor preparation and layout are the same for peel & stick vinyl planks as they are for floating vinyl plank floors. To install each piece, peel the adhesive backing off the plank and stick it to the subfloor.
Install the Baseboards
After laying the floor, you’ll need to install the baseboards. Determine how many baseboards you’ll need. Measure the length of the walls and cut the baseboards down to size with a miter saw.
Attach the boards to the wall with construction adhesive. Next, you’ll want to add quarter round and use caulk to finish. This article will provide step-by-step directions on how to install baseboards.
Vinyl flooring is extensively used because it is water-impervious, fairly durable, adjustably resilient and insulating, easy to install, available with a variety of appearances, and inexpensive. Custom-print vinyl sheet flooring may cost an order of magnitude more, if ordered commercially,
However, vinyl flooring has environmental concerns in manufacturing, use, and disposal.

